If you’ve tasted the breads at Sullivan Street Bakery, I think you’d agree: Jim Lahey is a genius. And the best part is that he isn’t one of those crazy secret-keeping geniuses. In fact, I’d say he’s pretty much the opposite of secret: his no-knead bread making method is super well known and documented. In 2006, an article was published in the New York Times about the no-knead bread method and it took the bread baking world by storm. Usually no-kneading means no bread, but not with Lahey’s recipe.
The not-so-secret? Time. Instead of using elbow grease, time does all the work for you. A tiny amount of yeast (compared to standard bread recipes) and a long fermentation creates a loaf with a crisp, crackly crust and large airy crumb.
No-knead dough is perfect for making pizza. Lahey even has a restaurant devoted to pizza called Co. I visited Co a couple of years ago to see what the hype was about and it was everything they said it would be: crisp, yet chewy with a gorgeous char at the edges. Co has the kind of pizza you can only dream about making at home.
I’ve made plenty of pizzas at home and they’ve always turned out disappointing. Soggy, unflavoured crusts, with no crispiness or charring. But no more! Lahey has a new pizza book coming out that will save us all from bad homemade pizza. His super simple pizza dough recipe is featured in the March issue of Bon Appétit and it gives you amazing results.
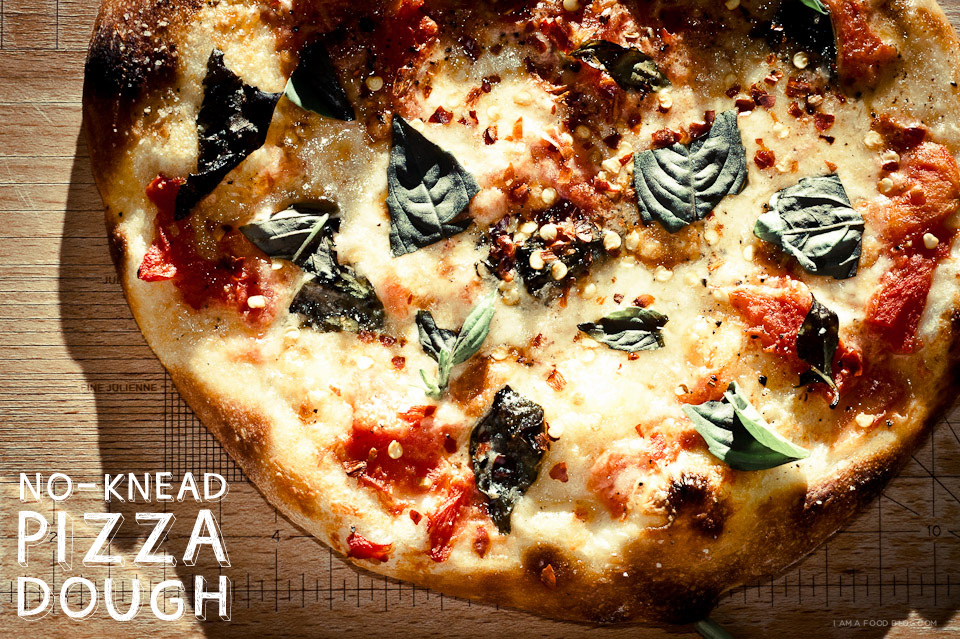
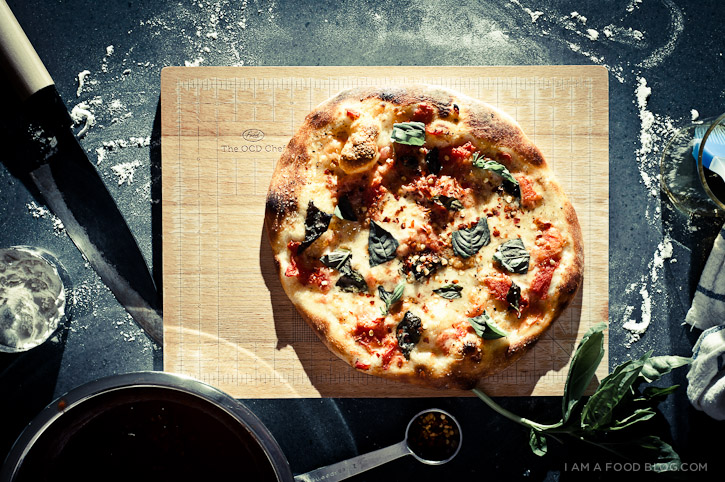
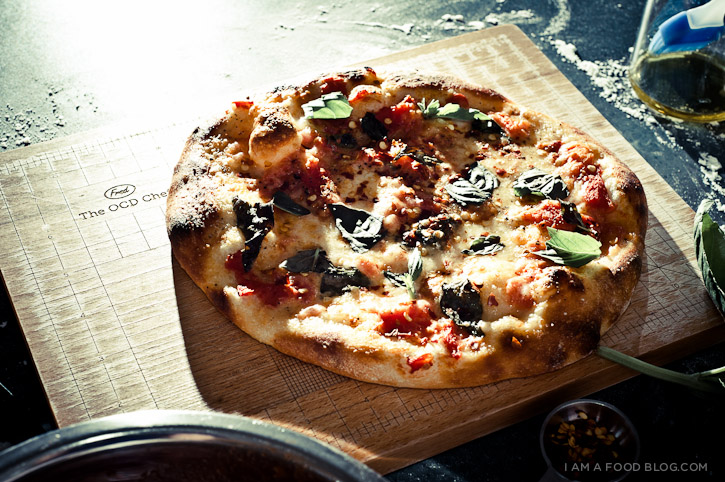
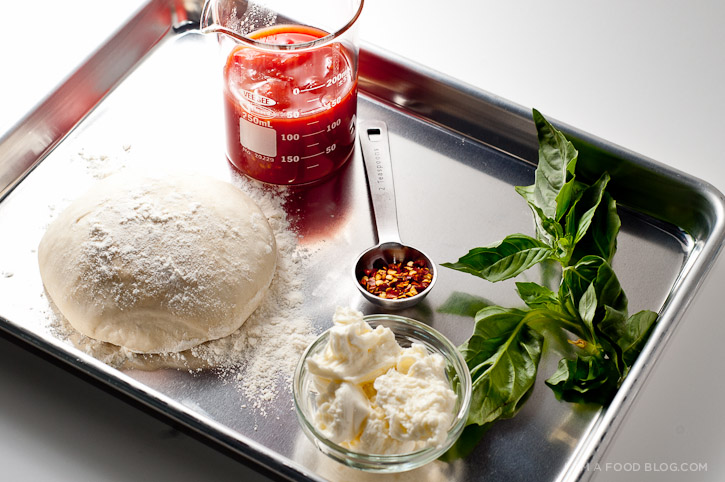
Feel free to make your pizzas with the toppings of your choice. We kept it simple with crushed tomatoes, fresh mozzarella, basil and crushed red pepper flakes. It’s pretty awesome that these pizzas came out of my home oven: the crusts were chewy, bubbly and crisp. It sure beats flying to NYC when the craving hits!
I am bubbly, I am crisp: I AM NO-KNEAD PIZZA!
No-Knead Pizza Dough Recipe from bonappetit.com
yield: 4 pizzas
- 3 3/4 cups all-purpose flour (500 grams) plus more for shaping dough
- 2 teaspoons (16 grams) fine sea salt
- 1/4 teaspoon (1 gram) active dry yeast
- 1.5 cups (350 grams) water
Whisk flour, salt, and yeast in a medium bowl. While stirring with a wooden spoon, gradually add 1.5 cups water; stir until well incorporated. Mix dough gently with your hands to bring it together and form into a rough ball. Transfer to a large clean bowl. Cover with plastic wrap and let dough rise at room temperature in a draft-free area until surface is covered with tiny bubbles and dough has more than doubled in size, about 18 hours.
Transfer dough to a floured work surface. Gently shape into a rough rectangle. Divide into 4 equal portions. Working with 1 portion at a time, gather 4 corners to center to create 4 folds. Turn seam side down and mold gently into a ball. Dust dough with flour; set aside on work surface or a floured baking sheet. Repeat with remaining portions.
If you don’t want to use the dough right away, wrap the balls up individually and keep in the fridge up to 3 days. Bring them back to room temperature by leaving out on the counter, covered, for 2 to 3 hours before needed.
Let dough rest, covered with plastic wrap or a damp kitchen towel, until soft and pliable, about 1 hour.
To Make the Pizzas
During the last hour of dough’s resting, prepare oven: arrange a rack in middle of oven and preheat to its hottest setting, 500°–550°. Working with 1 dough ball at a time, dust dough generously with flour and place on a floured work surface. Gently shape dough into a 10″ disk.
Arrange dough disk on baking sheet; top with desired toppings. Bake pizza until bottom of crust is crisp and top is blistered, about 10-12 minutes. Transfer to a work surface to slice. Repeat with remaining pizzas.


thanks for the wonderful recipe!!! just wanted to know if you mean warm water or just normal room temperature water?
The water is just regular room temperature.
This looks wonderful
hi! I made this last night and it was great. Only thing is that it didn’t brown as much. Could you give me any pointers in getting the crust to brown without leaving it in the oven for too long? Thanks for the recipe!
Ok now this one I need :D ! We just made some pizza for Mother’s Day, and yes, kneading can be quite a chore (I highly suspect that the reason why most bakers have large arms is from kneading dough :P )
Oh, and about the pictures, what camera and lighting setup do you use? They all look fantastic!
Ray
for
Lynne-Enroute.com
hello,
love your blog
Wonderful !!
Your recipes are really great.
This make me hungry… <3 hheheh hahhaha hihi :P
All the best to this blog.
Once again a happy family, and my husband who has had pizza dough duty using Jamie Oliver’s recipe up till now just handed the future pizza evenings over to me!